Ultrasonic testing
- Products
- Petroleum & Oil Testing
- Flash Point Tester
- Engler Viscometer
- Water Content Tester
- Kinematics Viscometer
- Distillation Tester
- Density Tester
- Rust & Corrosion Tester
- Sulphur Content Tester
- Acid & Alkali Tester
- Dropping Point Tester
- Demulsibility Tester
- Aniline Point Tester
- Ash Content Tester
- Low Temperature Tester
- Residue Carbon Tester
- Existent Gum Tester
- Vapor Pressure Tester
- Oxidation Stability Tester
- Foaming Characteristic Tester
- Bomb Calorimeter
- Octane & Cetane Analyzer
- Other Tester
- Tablet Drug Tester
- Dissolution Tester
- Disintegration Tester
- Tablet Hardness Tester
- Friability Tester
- Multi-Purpose Tester
- Clarity Tester
- Gelatin Gel Strength Test System
- Bloom Viscosity Tester
- Thaw Tester
- Melting Point Tester
- Moisture Tester
- Transparency Tester
- Vacuum Constant Temperature Drying Case
- Transdermal Diffusion Tester
- Gelatin Freezing Strength
- Refrigeration & Cryogenic
- Life Sciences
- Laboratory
- Spectrometer
- Spray Dryer
- Rotary Evaporator
- Reactor
- Sterilizing & Cleaning
- Water Quality Analyzer
- Chemical Analysis
- Physical Testing
- Centrifuge
- Pathology Equipment
- Optical
- Ultrasonic Homogenizer
- Packaging Testers
- Compression Testing Machine
- Water Vapor Permeability Tester / Moisture Permeability Tester
- Air Permeability Analyzer
- Tearing Tester
- Heat Sealer
- Seal Tester
- Oxygen Permeability Tester
- Friction Tester
- Falling Dart Impact Tester
- Horizontal Impact Tester
- Pattern Thickness Tester
- Evaporated Residues Tester
- Inverted Pressure Sterilized Boiler
- Electronic Tensile Tester
- Heat Shrink Tester
- Leakage Tester
- Hot Tack Tester
- Disc Peeling Tester
- Roller Pressing Machine
- Sample Cutter
- Spectrodensitometer
- Hot Sticky Pull Tester
- NDT
- Agriculture & Food
- Hazardous Chemical Detection
- Fusion Machine
- Testing Chamber
- Filter Integrity Tester
- Petroleum & Oil Testing
- Industry Testing Device
- Featured
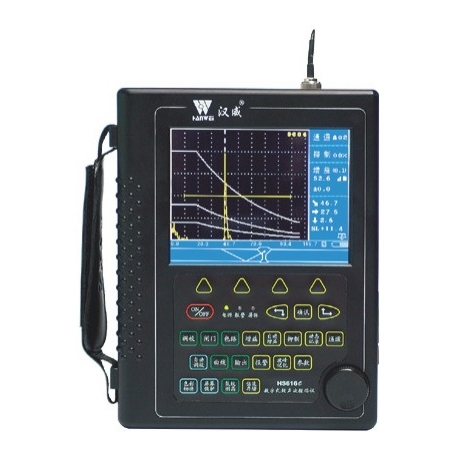
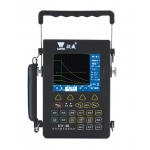
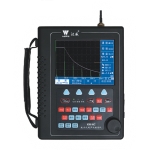
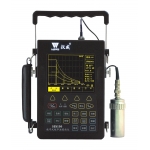
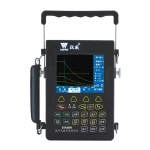
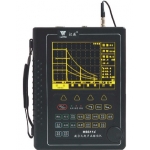
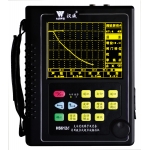
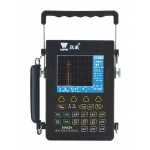
Enhanced Digital Ultrasonic Flaw Detector
HS616e
The HS616e Enhanced digital ultrasonic flaw detector has high light TFT screen;
The background color and brightness can be set according to environment; make it clear display under high-light or low-light environment.
The digital knob realize one-bottom operation
- Remove this product from my favorite's list.
- Add this product to my list of favorites.
More info
Features:
A. General
The HS616e Enhanced digital ultrasonic flaw detector has high light TFT screen;
The background color and brightness can be set according to environment; make it clear display under high-light or low-light environment.
The digital knob realize one-bottom operation
Spectrum analysis functions, with high speed FFT processing, able to measure the performance of transducer
High performance lion-battery for longtime work
B. Pulse
Amplitude: selectable within 200V, 300V, and 400V; suitable for wide range of probe
Duration: 100ns~300ns adjustable with step of 2ns; match the best sensitivity in different frequency probe when testing
Damp match: 51Ω,150Ω,200Ω,400Ω, meet requirements of different sensitivity and resolution
Probe mode: dual or single transducer
C. Testing range
0~14000mm
D. Signal condition
High speed sampling: 150MHz sampling rate
Rectify mode: dual, plus, minus and RF wave display
Gates: single gate, dual gates, hold peak within full screen waveform or hold peak within gate
Gain: Setting by step 0.1dB, 1dB, 2dB or 6dB; Gain can be automatically set according to echo amplitude
E. Alarm
Sound and light alarm according to the amplitude compared with DAC in gate
F. Data saving
50 sets of testing parameters can be calibrated and preset. User can preset the testing parameters according to the testing standards for various industries; and the testing parameters can be saved, recalled, edited, printed and sent to PC easily.
1000 sets of testing waveform and data can be saved, recalled, printed, and sent to PC easily.
G. Other functions
Hold the peak and peak time
Calculate the equivalent diameter of defects
Measure the defect height with diffraction signal of defect tips
Record and replay the dynamic testing waveform
Locating defect with surface distance, depth, and sound path
Sizing the defect with SL value
Record the envelops waveform of defect to ease evaluating
Correcting the error caused by coved face
Real time gain compensation with penetrate time
Display the defect location in weld saw section
B-scan display
H. Real time recording
Record the real time and date of testing
I. interface
High speed USB 2.0
RS232
J. Auto protect the screen
Specifications | |
Amplitude | selectable within 200V, 300V, and 400V |
Duration | 100ns~300ns adjustable with step of 2ns |
Damp match | 51Ω,150Ω,200Ω,400Ω |
Probe mode | dual or single transducer |
Testing range | 0~14000mm |
Sampling | 150MHz sampling rate / 8bits |
Frequency range | 0.5-4MHz, 2-8MHz, 10MHz, 2MHz-20MHz |
Gain range | 110dB (adjust with a step selected from 0.1dB, 1dB, 2dB,and 6dB) |
Sound speed | 100m/s~20000m/s |
Dynamic range | ≥30dB |
Vertical linear error | ≤3% |
Horizontal linear error | ≤0.1% |
Horizontal resolution | >40dB |
Surplus sensitivity | >62dB |
Rejection | 0%~80% |
Noise | ≤10% |
Power voltage | 220VAC or 7.2VDC |
Battery work time | 5 hours |
Temperature | -10~40℃ |
Humidity | 20%~95% |
Size | 220×175×55(mm) |
Standard configuration:
1. One HS616e flaw detector
2. Two probe wires (Q9-Q9)
3. One power charge
4. One lithium battery
5. One battery charging connecting wire
6. One set of portable work tape
7. One set of communication line and communication driver software
8. One suitcase
9. One copy of manual, certificate and warranty card


